
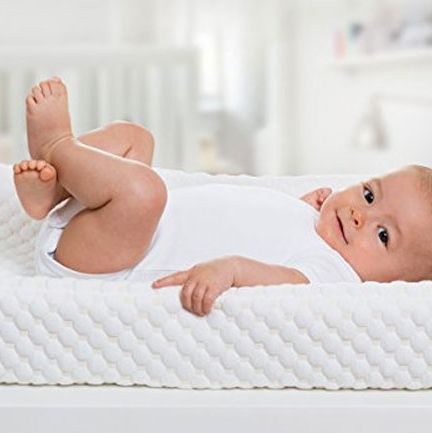
As a parent,We have been spending a lot of money on pretty things for the baby. In diapers, for example, we always want the baby in a clean and comfortable environment.So diapers are essential to us.It's not just diapers,so does the changing pad cover.
Can we try making our own DIY changing pad cover with fabric? Guess what... it worked! And everyone compliments it when they come over. Even you don't know how to sew...so this is super easy.
I think you will start this project off by saying, do yourself a favor, make more than one of these. I mean, knock on wood, you do not tend to make a mess in the middle of diaper changes all that often.
It is the first step that is troublesome.
As the old saying goes,It is the first step that is troublesome.Before you think about how hard this is, please move.And actually, we almost don’t even attempt this project because we assume it is going to be a pain. But isn’t that always the way it is? The projects you think will be easy take nine million years and a bunch of swear words, and the ones you think will be a pain, turn out to be a breeze.
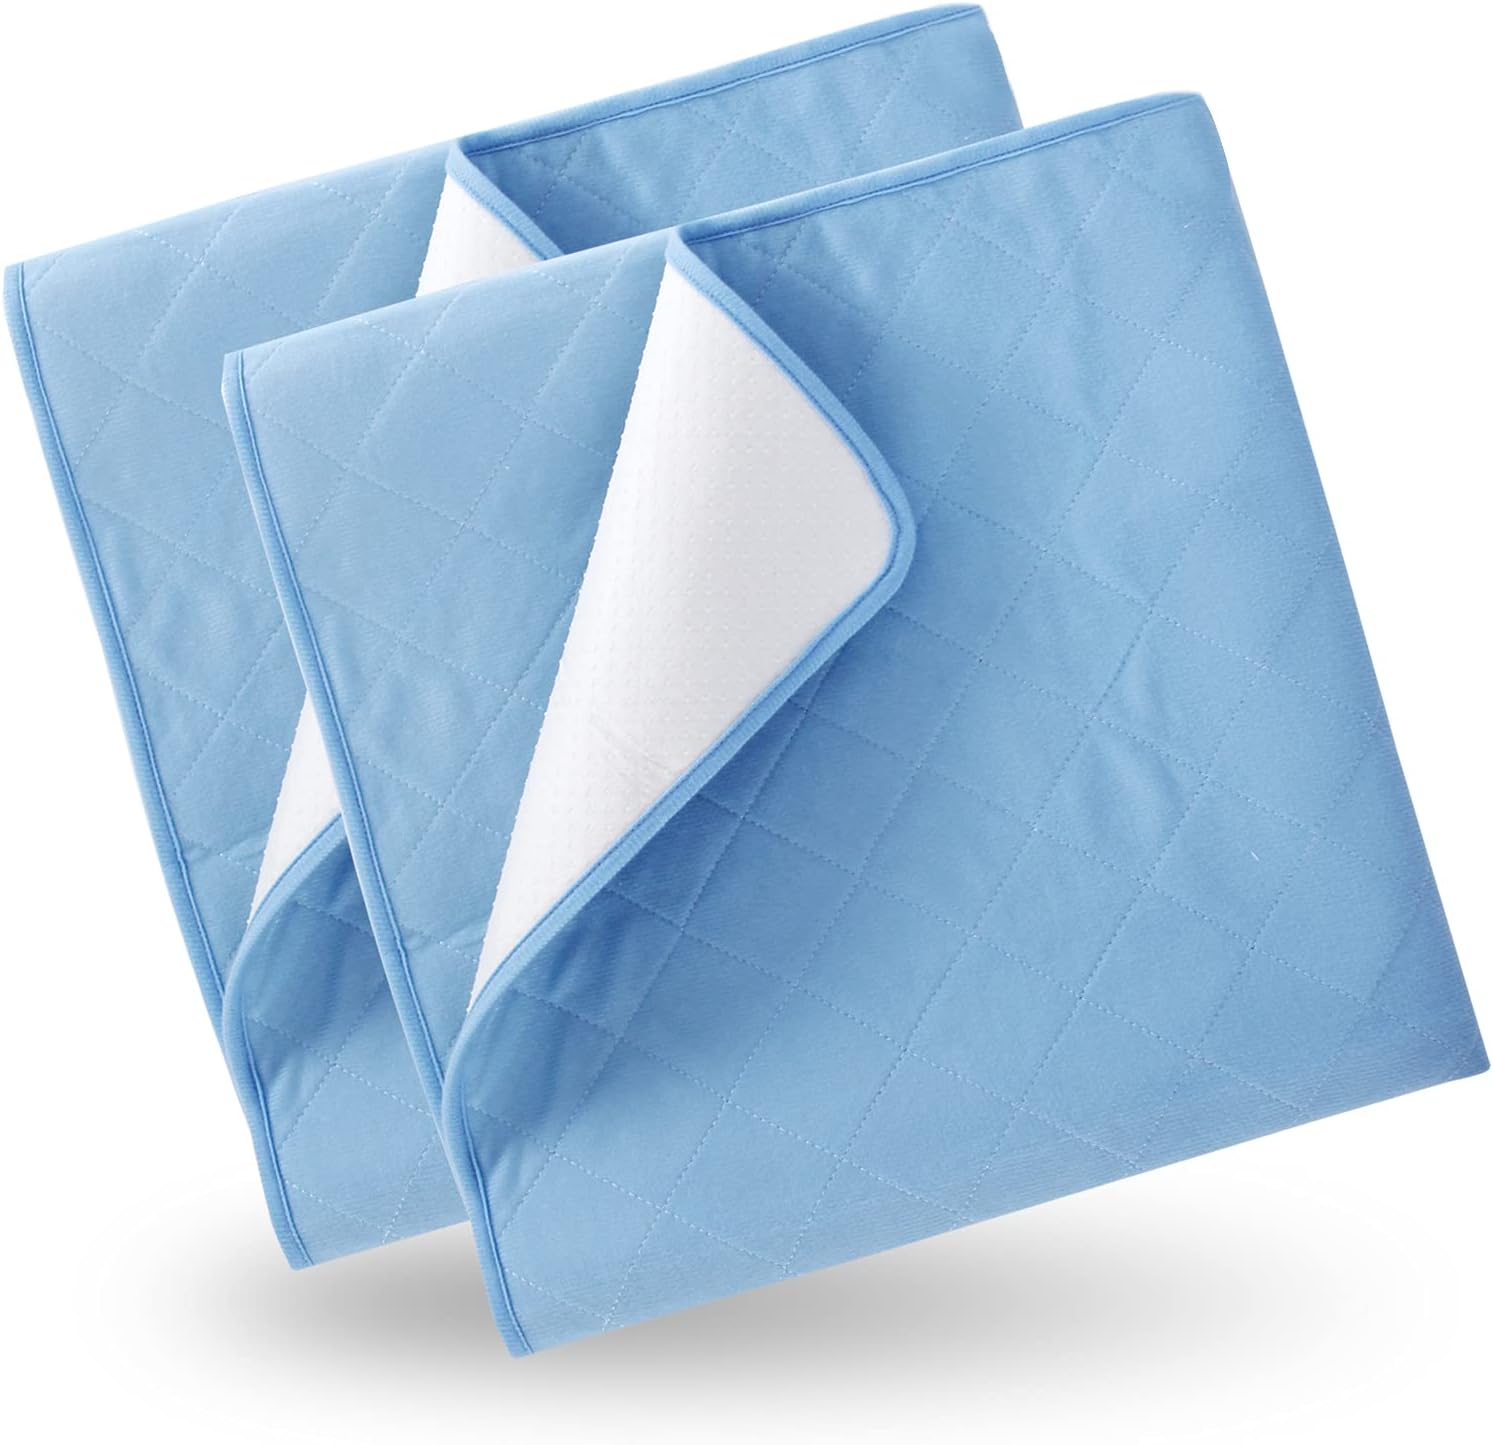
Although we say action is important, action is the most important thing before thinking too much.But we still have to do the necessary preparatory work.Before we start DIY the changing pad cover, we need to be clear about the choice of materials.We have two options for you to choose from.First choose two different fabrics to make with it.The benefit is it has contrasting sides. If you make this out of just one fabric, ignoring the first steps, it’s even that much easier.
Just do it!
I know there's been a lot of articles about DIY changing pad cover before you go into this, and even if you open up Google, you can find the steps you want in the first link.But the fact is we always don't do it when we see the steps.Maybe you'll have a different effect this time.
1.First I measured my changing pad and drew a little sketch. I think they are a standard size but don’t quote me on that, measure yours to be sure.
2.After you pre-wash and dry your fabric, cut out one main piece and 2 side pieces. If your measurements aren’t the same as mine, note that I measured the width of the changing pad and added an inch (in addition to seam allowances) to account for the dip in the middle.
Once your pieces are all cut, fold them all down the middle and press to mark the center. Then lay the main fabric out right side UP. Lining up the centers, lay down the side pieces right side DOWN on top as shown. Pin.
3.Sew along the edges of the side pieces using a 1/2″ seam. Make sure to start AND stop about 1/2″ from the ends of the side pieces. This will allow you to box your corners in the next step.
4.Unfold your changing pad cover and press.
5.At one corner, bring together the short sides right sides together and pin. (Bring the blue lines together) Then sew with a 1/2″ seam. This will create a boxed corner. Repeat with the other three corners.
6.Turn the changing pad cover inside out and using an iron, fold up the bottom edge about 1 inch all the way around and pin. This will be the channel for the elastic. Sew this seam, close to the fabric edge, all the way around leaving about 3″ open to insert the elastic.
7.Using a piece of elastic longer than you’ll need, stick a safety pin through one end and use that to feed the elastic through the channel all the way around until it comes out the other side. Try to keep it from twisting.
8.Pull the elastic out until the elasticized bottom edge of the changing pad cover is as gathered as you want it. (this depends on how stretchy your elastic is and how tight you want your cover.) Cut the elastic, overlap the ends by about 2 inches and then sew them securely together with a zigzag stitch. (I don’t know why my elastic looks dirty, it was seriously like that just at that one spot! Annoying!)
9.Once the ends of the elastic are connected, let them go and they will pull back into the channel in your changing pad cover. Then use your sewing machine to close up the opening you left for threading the elastic.
And that’s it! I hope you can make a changing pad cover to your satisfaction.By the way, if you really don't think this will help you, or if the fabric you choose doesn't match your crib or your room, you might consider clicking here to buy our products.We have two items for boys or girls, simple and easy, will suit your household environment very much .